
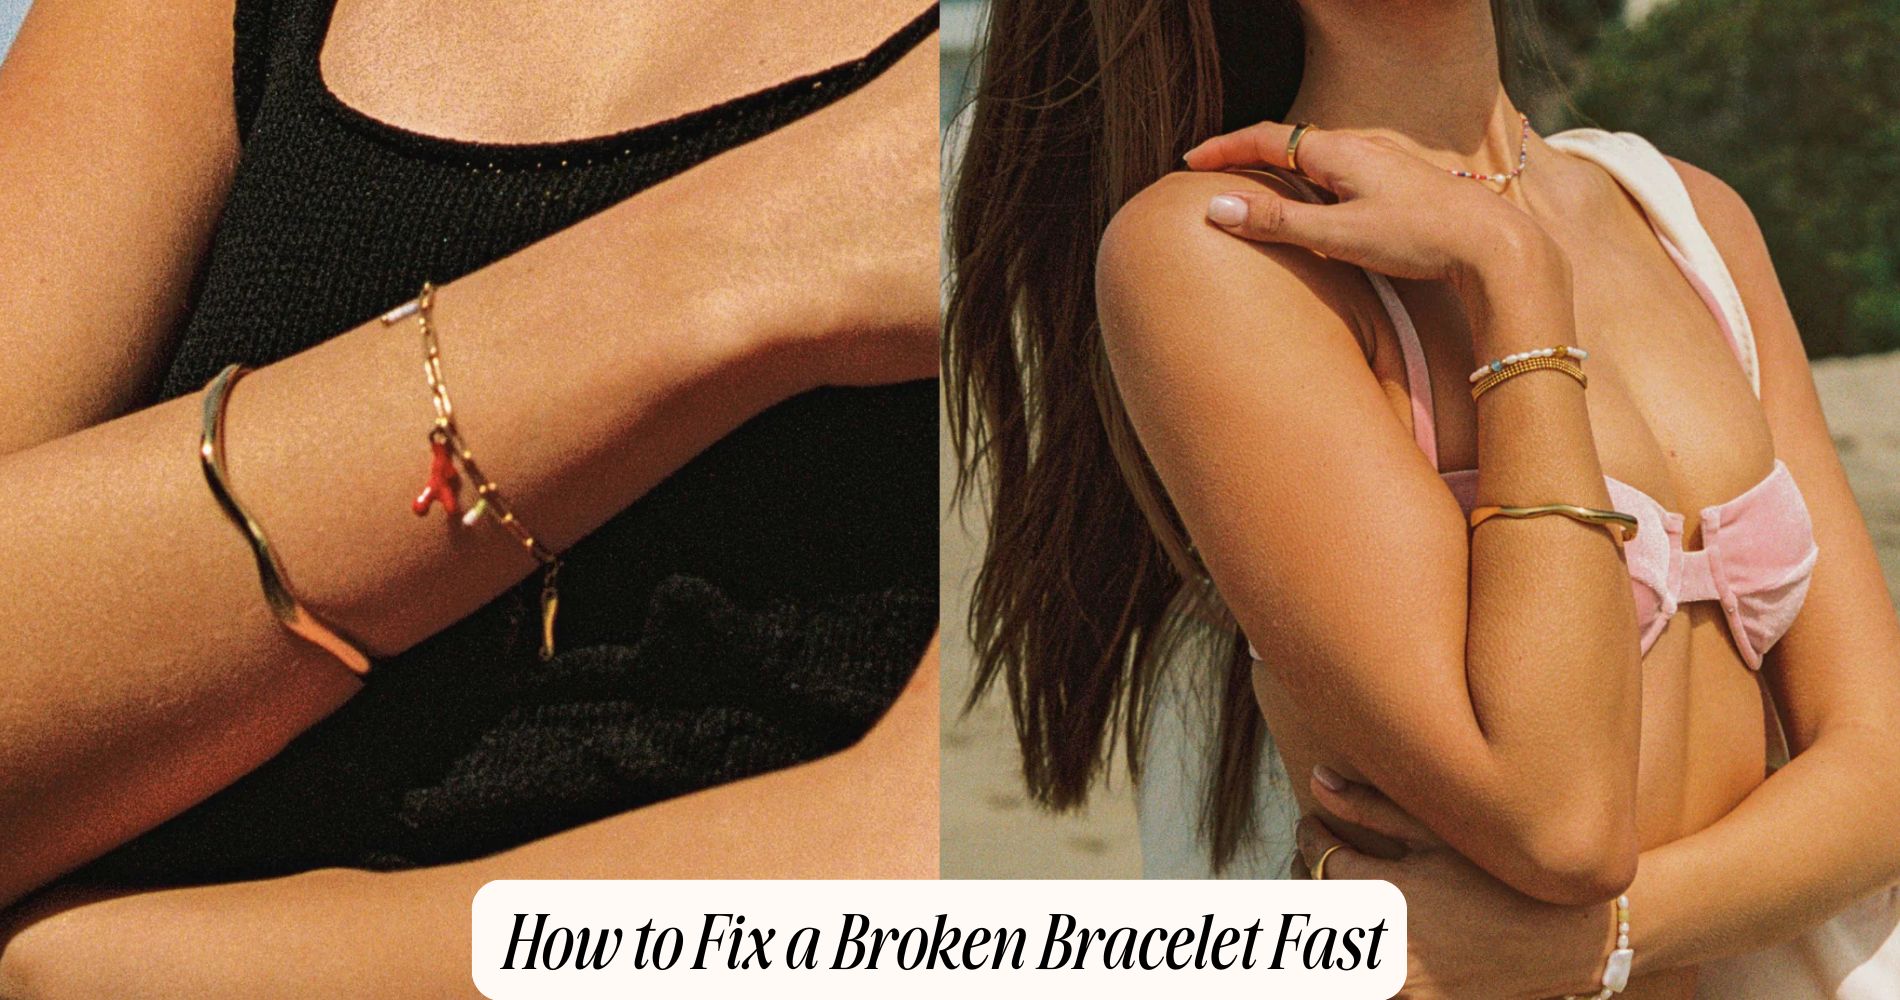
How to Fix a Broken Bracelet Fast
If you’re wondering how to fix a broken bracelet, start by inspecting it carefully under a magnifying glass to spot issues like broken links, loose clasps, or missing stones. Gather the right tools—pliers, tweezers, adhesive—and matching repair materials. For chain damage, use pliers to realign and secure the links, possibly soldering for extra durability. If the clasp is faulty, replace it with a new one using a jump ring. For more quick solutions, explore further tips or check out our Waterproof Bracelet collection for durable styles that last.
Assess the Damage
Before jumping into repairs, it’s essential to assess the damage to your bracelet to determine the best course of action.
Begin with a thorough visual inspection. Look closely at the bracelet to identify any damage types. Check for broken links, loose clasps, missing stones, or bent components.

Each damage type may require a different repair method, so it’s vital to pinpoint every issue accurately. Use a magnifying glass if necessary to make certain you don’t miss any small details.
Pay attention to the material of your bracelet; metal, leather, or beads may have distinct vulnerabilities.
Gather Your Tools and Materials
Once you've thoroughly assessed the bracelet's condition, it's time to gather the necessary tools and materials for repair.
Start with tools organization: arrange pliers, tweezers, and a magnifying glass on a clean, flat surface. This setup guarantees efficiency and accessibility.
Next, focus on material selection. If the bracelet has a broken clasp, have replacement clasps ready. For a snapped chain, select matching jump rings or links. Confirm the materials match the original bracelet's metal and style for a seamless repair.
Include a soft cloth to protect delicate surfaces and a strong adhesive if needed for embellishment repairs.
Having everything organized and within reach minimizes disruptions during the repair process, allowing you to focus on restoring the bracelet to its former glory.
Repairing a Broken Chain
To effectively repair a broken chain, begin by identifying the exact break point. Assess the chain types involved, as this will dictate your repair approach. Common chain styles include cable, curb, and Figaro.
Use magnification to closely examine the damaged link. With precision pliers, carefully open the broken link by gently twisting, not pulling, to avoid distortion.
Align the ends of the broken link meticulously. If the chain style involves intricate links, verify they’re properly aligned to maintain the original pattern.

Once aligned, use pliers to close the link securely. For added durability, consider soldering the link, if the material permits. Be cautious with heat-sensitive chain types like plated or delicate metals.
Your chain should now be restored and ready to wear.
Fixing a Faulty Clasp
After successfully restoring a broken chain, address the bracelet's clasp, which guarantees secure wear and functionality.
Start by identifying the clasp types, such as lobster, spring ring, or toggle. Examine the clasp materials, which could include metal, plastic, or magnetic elements. Metal clasps, typically made of stainless steel, gold, or silver, offer durability, while plastic clasps are lightweight but less robust.

If the clasp doesn't close properly, use pliers to adjust the tension of metal components. For magnetic clasps, verify that both ends align correctly.
In cases where replacing the clasp is necessary, remove the faulty one using small pliers. Attach a new clasp by opening the jump ring, sliding it through the bracelet loop, and securing it tightly.
Strengthening Weak Links
While securing your bracelet, you might notice certain links appearing weaker or compromised. To strengthen these weak points, start by identifying the links needing attention.
Use needle-nose pliers to gently open the link. Slide a small jump ring through the opened link, effectively reinforcing connections. Close the link securely, guaranteeing there are no gaps. Repeat this process for each weak link in the bracelet.

Next, test the durability by tugging gently on the reinforced areas. If they hold firm without opening, you've successfully strengthened the links. If any give way, revisit the process and verify each connection is tight.
Regularly inspect your bracelet for any signs of wear and perform these steps as needed to maintain its structural integrity.
Frequently Asked Questions
How Can I Prevent My Bracelet From Breaking in the Future?
Choose durable bracelet materials like stainless steel or titanium. Regularly inspect for wear. Avoid exposure to water or chemicals. Clean gently with a soft cloth. Store in a cool, dry place. Follow these maintenance tips for longevity.
What Are Some Creative Ways to Repurpose a Broken Bracelet?
Transform a broken bracelet into upcycled jewelry by attaching the beads to earring hooks or creating a DIY accessories charm. Use a jewelry plier for precise adjustments, ensuring each component fits securely for a polished look.
Can a Broken Bracelet Be Fixed Without Professional Help?
Yes, you can fix a broken bracelet without professional help. Use DIY repairs with common materials like pliers, jump rings, and super glue. Carefully realign broken parts, secure them with the materials, and guarantee stability.
What Types of Bracelets Are Most Prone to Breaking?
Beaded bracelets are most prone to breaking due to thread wear and bead friction. Leather bracelets can also break if the leather dries out or if the clasp fails. Regular maintenance reduces breakage risk for both types.
Are There Any Home Remedies for Cleaning a Tarnished Bracelet?
Yes, you can use baking soda for tarnish removal. Mix it with water to form a paste. Apply it using a soft cloth, gently rub, then rinse. This cleaning technique efficiently restores your bracelet's shine.
Conclusion
Once you've assessed the damage and gathered your tools, it's time to repair your broken bracelet. Start by addressing any broken chains, using pliers to reconnect links securely. If the clasp is faulty, replace it with a new one, ensuring it's properly aligned and snaps shut easily. For weak links, reinforce them with solder or a strong adhesive. By following these precise steps, you'll have your bracelet looking and functioning like new in no time.


コメントを書く
このサイトはhCaptchaによって保護されており、hCaptchaプライバシーポリシーおよび利用規約が適用されます。